Zippers are an efficient, convenient closure to get in and out of a garment, especially pants. For me, I know I always end up taking out my zipper while constructing garments two if not three times! A very time consuming and annoying process. For my tailored pants we worked on our fly front zipper step by step through these ten step instructions and I finished without a glitch! My fist perfect zipper on the first try. So stop getting frustrated with your zippers and let them become a design element you can’t live without!

These directions are in the “Easy Guide to Sewing”
Fly Front Zipper (basted seam method)
In women’s pants, the fly laps from the right to the left.
Step one: Interface the wrong side of the fly. I recommend using a fusible, it’s easy and convenient to use. Make sure you preshrink it!
Step two: Starting at 1 ½ in from the inner crotch stitch on your seam allowance (usually 5/8) to ¼ from the zipper stop. Then from there continue on the center front to the raw edge with a basting stitch (this basting will stay in till the end!)

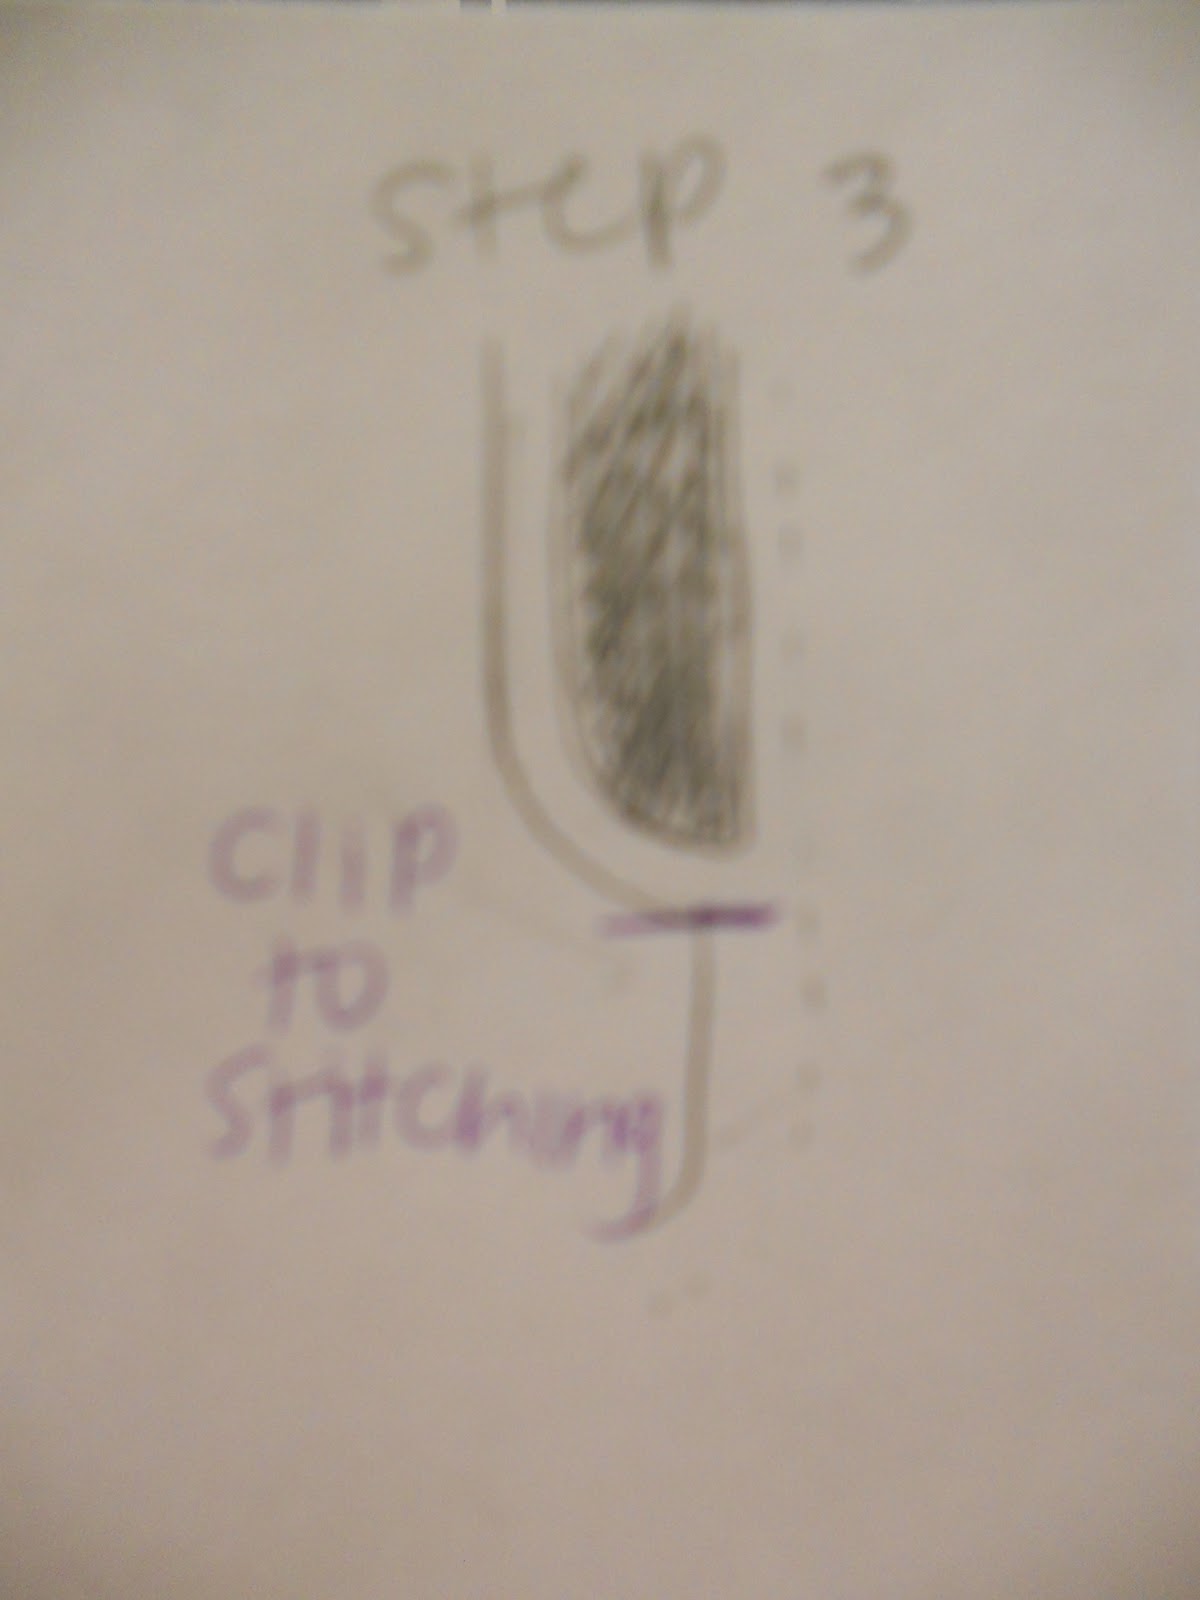
Step tree: make a clip under the fly to allow it to press open.
Step four: On the inside of the pants, left fly, draw a line ½ in away parallel to the center front. Fold the extension under and press.
Step five: With zipper up, pin the zipper tape to the extension so its close to the zipper teeth (the zipper stop should be where you started basting)

Step six: Needle to the right of the zipper foot, stitch up the zipper tape (stay stitch your ends!)
Step seven: Turn over the zipper pulling out the folded extension, pin the second side of the zipper to the left fly extension. Stitch through the middle of the tape and extension.
 Step eight: Turn the garment over. Looking at your pants, on the left side (the wearers right) mark your fly front top stitching. (I found it easiest to get a smooth perfect top stitching to make a template from a file folder) the width of the top stitching should be about 1 ¼ in and come from the raw edge down curving at the bottom ending under the zipper stop but catching the zipper tape (this is where you ended your stitching and started your basting ¼in under your zipper stop).
 Step nine: Tape the pattern down and stitch right around it through the tape. Bar tack on the center front seam horizontally to the seam to keep your reinforcement hidden.
Step ten: Steam press and remove your basting!

With ten steps you have now completed your fly front zipper! I hope it went as smoothly as mine did!
No comments:
Post a Comment